

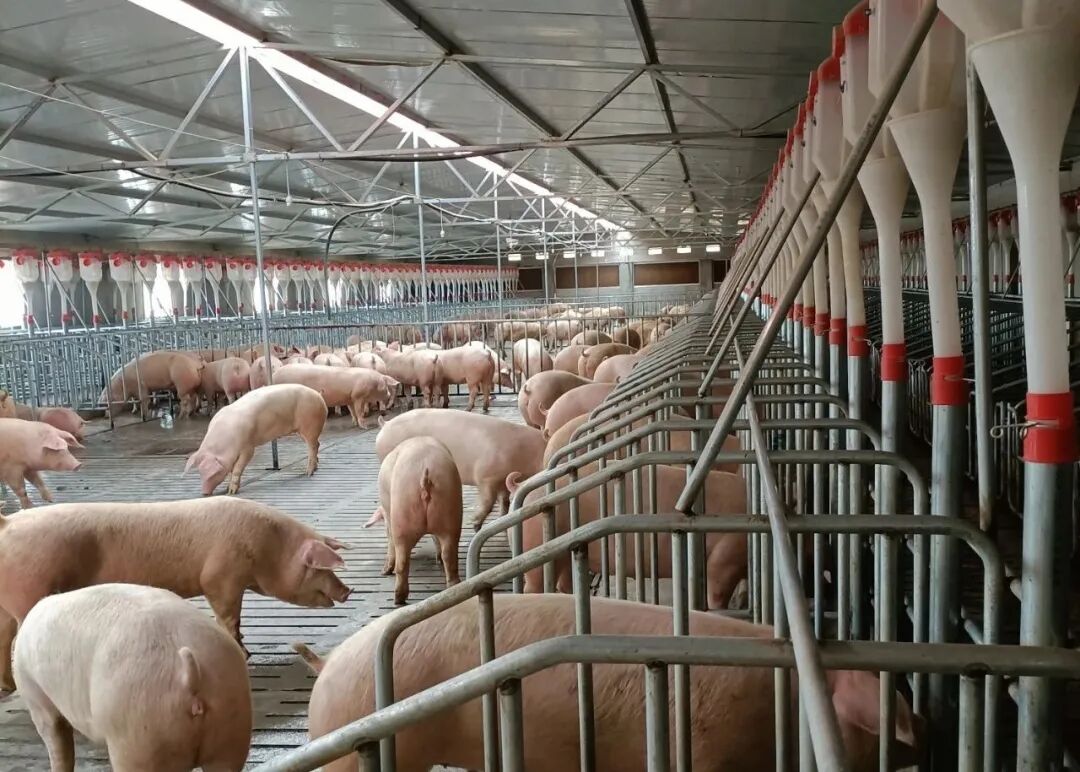
Early Pregnancy Detection Guide for Sows: How to Eliminate Costly Non-Productive Days
In modern swine farm management, "improving efficiency and reducing costs" is not just a slogan—it is a metric directly tied to your financial ledger. As a farm manager, you have likely calculated this crucial figure: How much feed and labor cost are wasted every single day a sow remains open (not pregnant) after an unsuccessful mating?
According to industry averages, every single Non-Productive Day (NPD) per sow costs a farm substantial revenue in wasted feed and overhead. If you rely on traditional visual cues—like waiting for physical changes or a noticeable belly at 40 to 60 days—that open sow has already quietly drained a significant portion of your profit margin.
Today, we will discuss how to utilize modern veterinary ultrasound scanners to identify "open" sows during the optimal time window and keep your herd running at peak productivity.

1. Seizing the Golden Window: Days 21–24 Post-Mating
A common question among novice technicians is: "When is the most accurate time to scan for pregnancy?"
Traditional methods often involve waiting for signs of returning estrus or delaying checks until a full month post-breeding. However, Days 21 to 24 post-mating represent the absolute "Golden Window" for early pregnancy detection via ultrasound.
Why this specific timeframe? A sow's natural estrus cycle lasts approximately 21 days. If she fails to conceive, she will return to estrus around day 21. Performing an ultrasound check at this exact juncture allows technicians to identify non-pregnant sows immediately. You can then re-breed them in the very next cycle, minimizing non-productive days to the strict minimum.
�� Expert Tip: It is highly recommended to perform a follow-up recheck around Day 30. This step ensures you catch and filter out any sows that initially conceived but experienced early embryonic loss (miscarriage) later on.

2. Step-by-Step Practical Guide: Probe Placement and Scanning Technique
Many people new to the equipment assume that performing a swine ultrasound is highly complex. In reality, once you find the correct anatomical landmark, the technique is quite straightforward. Keep these core steps in mind:
Find the Exact Location (Never Place the Probe on the Back!)
Ensure the sow is standing naturally—ideally while feeding, as she will remain calm and quiet.
• The Correct Position: Place the transducer (probe) on the lower abdomen, just above the second or third teat from the rear, in the hairless inguinal (groin) area right in front of the hind leg.
• Common Mistake to Avoid: Novice users frequently mistake the pig's back for the scanning site. Remember, the back is reserved for measuring backfat and loin muscle depth. Pregnancy checks are abdominal exams; the probe must be placed on the lower abdomen.
Scanning Technique
• Apply an ample amount of ultrasound coupling gel to the probe surface (if gel is unavailable on-site, clean vegetable oil or water can work in an emergency, though gel offers the best image quality). Press the probe firmly against the skin.
• Probe Angle: Aim the probe toward the sow's spine, tilting it slightly upward at a 45-degree angle toward the pelvic inlet.
• Move Slowly: Gently pivot and fan the probe angle—similar to waving a hand fan—to thoroughly scan and locate the uterine area.

3. Image Identification: What Does a "Positive" Result Look Like?
You do not need to be a certified veterinarian capable of analyzing complex pathologies. For pregnancy checks, your primary goal is simply looking for "fluid bubbles":
Pregnant: Look for "Black Fluid Pockets"
If the sow is successfully pregnant, you will see multiple distinct, circular, black fluid pockets (referred to clinically as anechoic zones) on the ultrasound screen. These are the gestational sacs filled with amniotic fluid. By Day 23, these black pockets become highly visible and clear.
Open (Not Pregnant): A Uniform Gray Contrast
If she failed to conceive, you will not see these clear black circular pockets. Instead, the screen will display a uniform, mottled gray-and-white tissue reflection, showing a very small uterine horn cross-section.
Special Condition: Pyometra (Uterine Infection)
If you observe large black areas that are highly irregular in shape and filled with floating white specks or patchy reflections, this typically indicates pyometra (a uterine infection) rather than pregnancy. In such cases, consult your technical support specialist or an experienced veterinarian for verification.

Conclusion: Great Technique Deserves the Right Tool
Practice makes perfect. With a few trial runs, anyone can become an expert at early pregnancy detection. However, farm environments are notoriously harsh, damp, and muddy, and livestock rarely cooperate perfectly. Therefore, frontline operators need more than just technique—they require equipment that delivers crystal-clear imaging, lightweight portability, and heavy-duty waterproofing and drop resistance.
To do a good job, an artisan needs the best tools. As a professional veterinary ultrasound manufacturer, Riannin (瑞恩宁) deeply understands these frontline challenges. We offer two tailored solutions for high-difficulty field scanning: Black & White Ultrasound (ImageV 10X & ImageV 10L) and Color Doppler Ultrasound.
• Heavy-Duty Waterproofing & Corrosion Resistance: The probe boasts an exceptional IPX7 waterproof rating, allowing you to rinse it directly under running water after use. The main unit features an IP54 rating with an aluminum alloy enclosure and specialized sealing. This ensures robust water protection while effectively sealing out dust and resisting the corrosive elements common in ranch environments.
• Ultimate Portability & Drop Protection: The ImageV 10X main unit weighs only 870g, while the ImageV 10L is an ultra-lightweight 700g. Engineered with a practical four-corner hook ring design, these devices are highly compact and impact-resistant—ensuring every farm technician can work with absolute peace of mind and minimal fatigue.
Investing in the right tool saves thousands in the long run. Ready to choose the perfect "ultrasound weapon" tailored to your farm’s scale and budget?
�� Read our comprehensive selection guide next: [How to Choose the Right Veterinary Ultrasound Equipment]